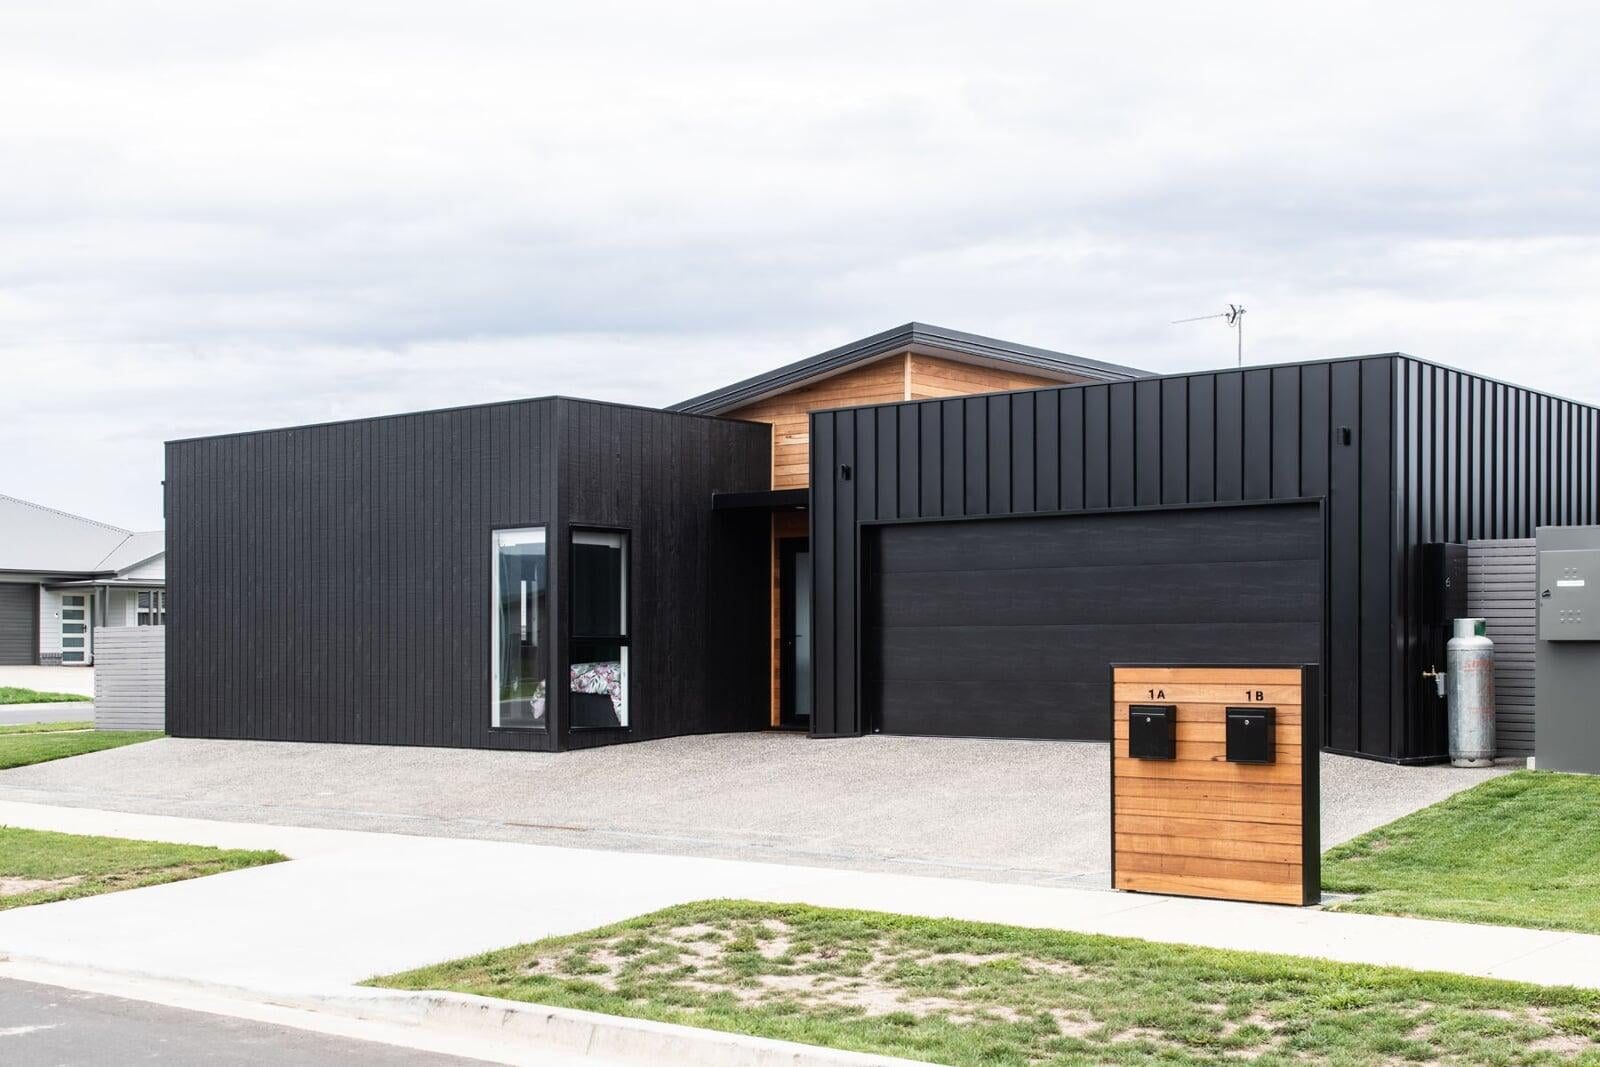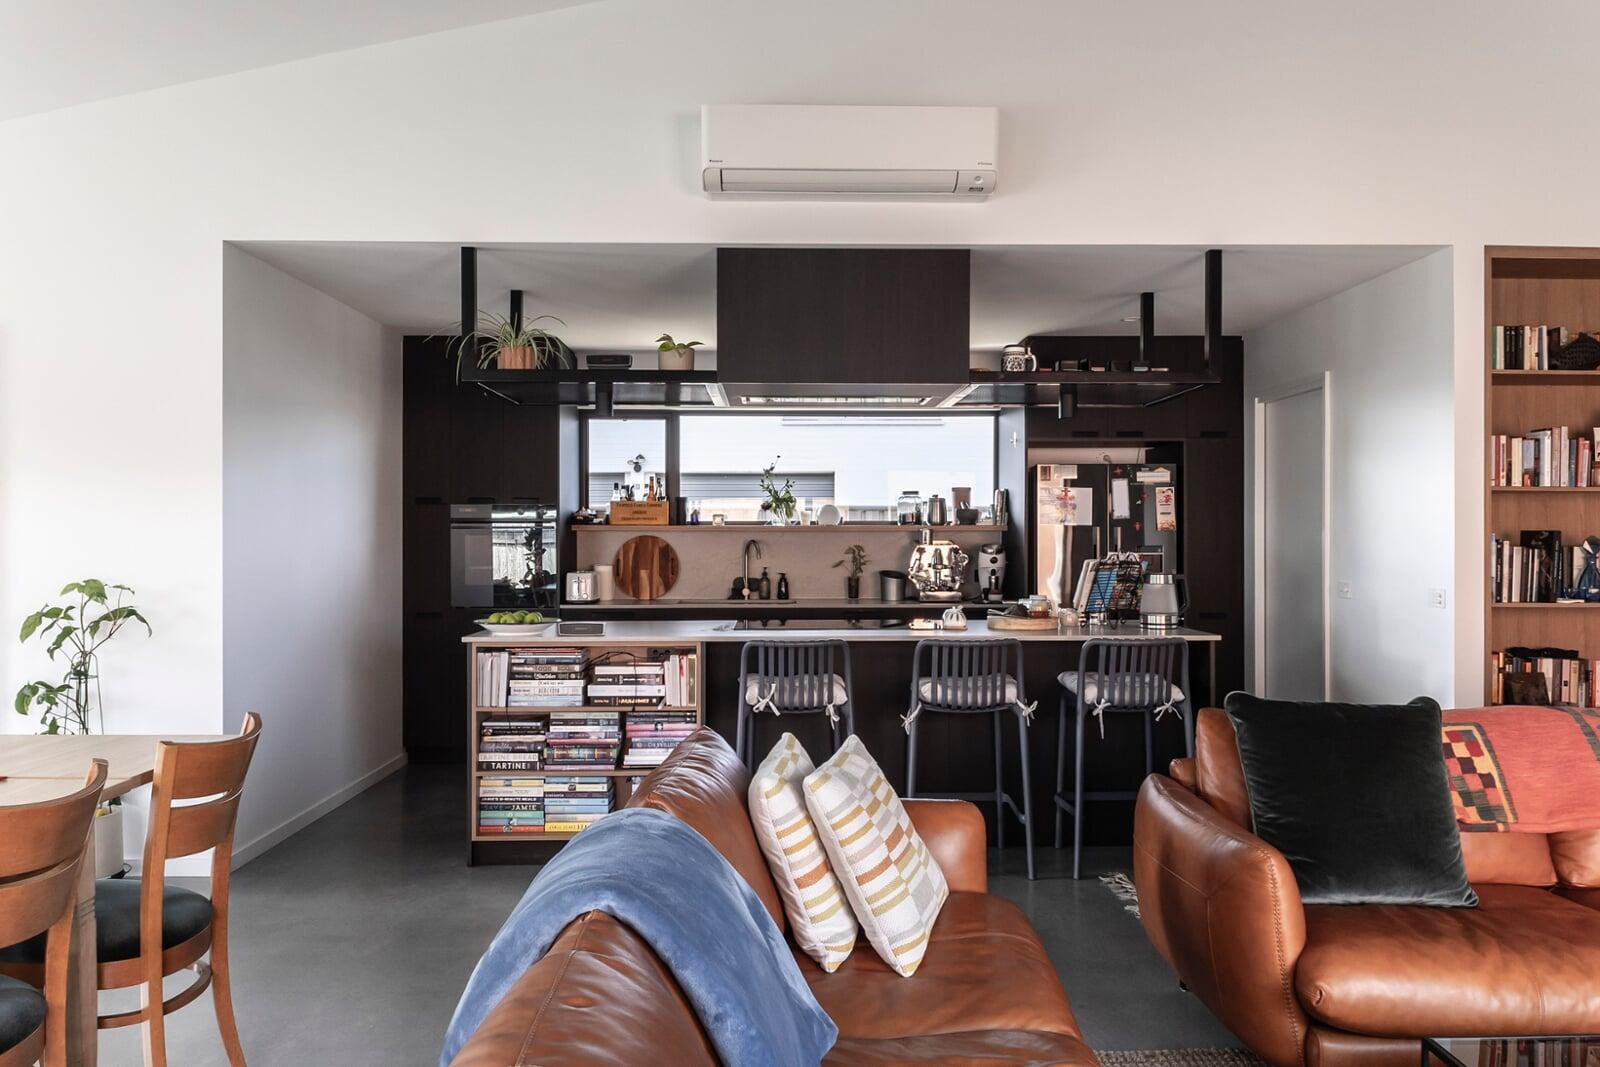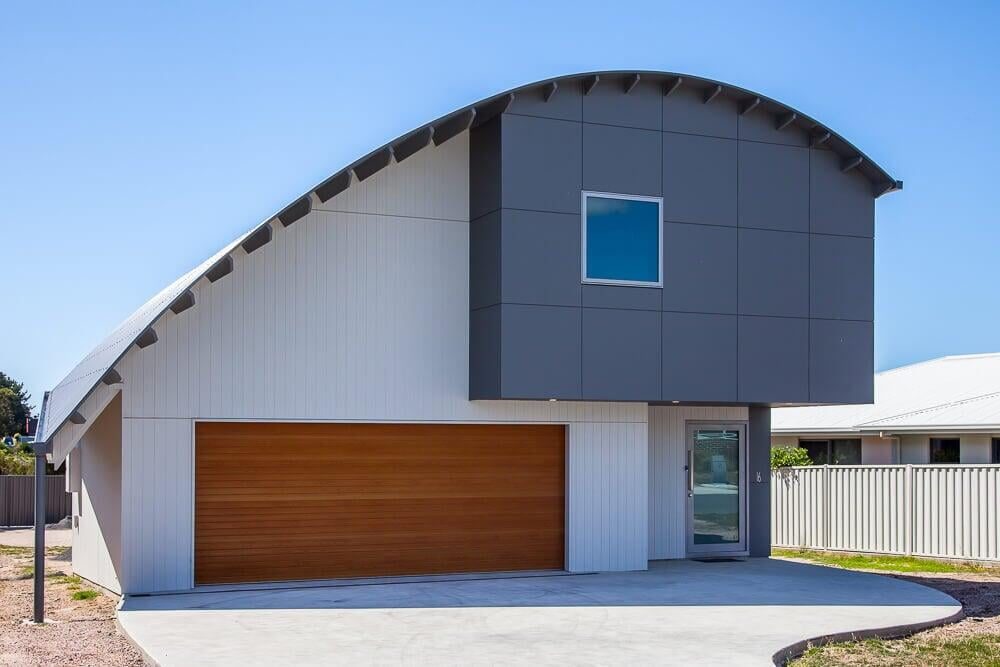
In Tasmania's climate — wet winters, muddy footpaths, and a genuine outdoor lifestyle — the entry and mudroom are among the most heavily used spaces in a new home. Built in at the design stage, a well-planned entry handles wet coats, muddy boots, sport gear, and school bags without spilling into the rest of the house. Retrofitted after the fact, the same function is awkward at best. Entry sizing, door swing clearance, flooring material, built-in joinery, and lighting all need to be resolved before framing begins.
Entry Hall vs Mudroom: What's the Difference?
An entry hall is the transition space between the front door and the rest of the home — it manages the first impression, provides a decompression zone, and controls sightlines to living areas. A mudroom is a utility-focused transition space, typically at the back door or garage entry, designed to contain mess from outdoor activity before it reaches the main living zones. Most new Tasmanian homes benefit from both.
- Entry hall (front door): Handles guests, deliveries, and the formal entry to the home. Minimum 1.2 m wide to allow two people to pass comfortably; 1.5 m preferred. Floor material should be easy to clean but can be more considered in finish than the mudroom. A coat cupboard or small hall table works here. Sightlines into private spaces (bedrooms, bathrooms) should be blocked by wall or door at the design stage.
- Mudroom (back or garage entry): Used by the household daily — school bags, wet coats, boots, gardening gear, surfboards, bikes. Positioned between the garage or back door and the kitchen or laundry. Floor should be fully sealed and water-resistant. A floor drain is rarely required but can be included on sloped sites or in coastal locations where sandy, wet gear is the norm. Design around storage: bench seating with built-in cubbies below, hooks at two heights (adult and child), shelving for bags and helmets.
Front Entry Clearances and Door Position
The front door position relative to the entry hall has a significant effect on how the space functions. A door that opens into the hall without adequate swing clearance forces residents to step back into the home to open it — uncomfortable with an armful of shopping, and a failure in function. Decisions about door swing, door width, and glazing need to be confirmed at the design stage.
- Door swing clearance: Allow a minimum of 300 mm clear between the door handle and the nearest obstruction (wall, step, freestanding furniture) when the door is fully open. In a standard 1.2 m wide hallway, an inward-opening door leaves approximately 0.5–0.6 m of clearance on the hinge side — adequate, but tight with luggage or a pram. A wider entry or a pocket door eliminates the problem entirely.
- Standard vs wider front door: Standard residential front doors are 820 mm wide (clear opening 770–780 mm). A wider 920 mm door (clear opening ~870 mm) is worth considering for accessibility and for moving large items. If a screen door is also planned, co-ordinate the outward swing of the screen with the inward swing of the front door — they need to clear each other and not block the path to the entry.
- Sill height and step: A level threshold at the front door — no step at the entry — allows prams, bikes, and wheelchair access and is far easier to waterproof correctly. Where a step is required for site drainage or for architectural reasons, a maximum 190 mm riser is the NCC limit for external steps. A covered porch at the entry allows the door to be opened without exposure to rain — worth including on any north or west-facing entry where afternoon weather drives in.
Mudroom Layout and Sizing
A mudroom that serves a household of four or five people needs to be larger than most floor plan sketches suggest. A useful working minimum is 2.0 m wide × 2.4 m deep — approximately 4.8 m². This allows a bench seat with storage below along one wall, hooks at two heights on the adjacent wall, and adequate circulation to undress footwear and hang gear without blocking the path in or out.
Larger mudrooms (3.0 m × 2.4 m, ~7.2 m²) allow back-to-back storage on both walls with a central circulation zone, which works better for active families with multiple children and significant gear volumes (bikes, surfboards, ski bags, sports equipment). The extra area is very low cost per square metre at construction — the joinery is the major investment, not the room itself.
- Bench seat height: 450 mm to 480 mm seat height for adults changing footwear. A bench at this height with a shoe cubby below allows a person to sit and manage footwear without bending to the floor. Include a toe kick clearance at the base of 100 mm minimum so feet can position under the bench comfortably.
- Hooks at two heights: Adult coat hooks at approximately 1.6–1.7 m above floor; child hooks at 1.1–1.3 m. Both can be on a single double-height panel with upper and lower hook rails, or on separate wall positions — whatever the floor plan allows. Hooks should be spaced at a minimum of 250 mm to allow coats to hang without overlapping.
- Shoe storage: Angled shoe shelves take approximately 300 mm depth (toe-to-heel of shoe plus access angle). A cubby run beneath the bench at 300 mm deep × 300 mm high fits most adult footwear with the sole flat. For sports boots and tall footwear, design at least two bays at 350 mm height. Open cubbies dry out faster than cupboards with doors — important in a household where wet footwear is common.
- Position relative to laundry: A mudroom positioned directly adjacent to, or opening into, the laundry significantly reduces the distance between taking off dirty gear and putting it into the washing machine. If the site allows, plan the mudroom–laundry sequence as a single zone — garage door into mudroom into laundry, with the kitchen or main hall accessed at the far end of the laundry.
Flooring in Entry and Mudroom Spaces
The single most important flooring decision in an entry or mudroom is the ability to wet-mop without damage. Tasmanian winters bring mud; beach houses bring sand; farms bring everything. The floor covering needs to handle wet boots, dropped gear, and repeated mopping without lifting, swelling, or discolouring.
- Porcelain or ceramic tile: The most practical choice for mudrooms — fully waterproof, easy to mop, scratch-resistant, and available in slip-resistant surface textures rated R10 or R11 for damp areas. Select a tile with a surface texture that grips sandy or wet soles without being so coarse it traps dirt. Grout colour should be mid-tone — neither pure white (shows all dirt) nor very dark (shows efflorescence). A rectified tile with narrow grout joints is easier to mop than a large-format tile with wide, textured grout. See our guide on flooring options for new Tasmanian homes for full specification detail.
- Polished concrete: Suitable in a mudroom if sealed correctly — penetrating sealer plus surface coat, reapplied every 5–7 years. Concrete is slip-resistant when textured at the surface; unsealed or under-sealed concrete absorbs mud and stains permanently. Include a coved (rounded) junction between floor and wall if wet mopping is the primary cleaning method — it prevents water from undercutting the wall base.
- Transition to the rest of the home: The floor material change from mudroom to hallway or kitchen should be deliberate — it signals the transition to a clean zone. A tile-to-timber threshold strip works well, but the level transition should be zero or at most 6 mm (NCC maximum for internal thresholds) to avoid a trip hazard. Plan this transition in the floor plan stage, not as an afterthought at floor-laying time.
Lighting in Entry and Mudroom Spaces
Entry lighting serves two functions: welcome and task. The entry hall benefits from a focal ceiling or pendant fitting that creates a warm first impression. The mudroom requires task-grade illumination — enough light to see what's on every shelf and in every cubby, and to find matching footwear in the dim light of a winter morning.
Specify a minimum 400–500 lux at bench height in the mudroom (compared to a general residential minimum of 150–200 lux for living areas). LED strip lighting under overhead joinery elements — illuminating the bench surface and the lower cubby zone below — is highly practical and low cost to include at the fit-off stage. Motion-sensor switching is worth considering for both the entry and the mudroom: lights that activate when someone enters eliminate the need to find a switch with full hands.
An external light at the front entry, sensor-activated, is functional and a security feature. Specify it to illuminate the path to the front door and the porch area, not just a small pool around the door. An entry that's dark from the street is uninviting for guests and a safety concern in the winter months when residents are arriving home after dark at 4:30 pm. See our guide on electrical and data wiring for new Tasmanian homes for full rough-in planning detail.
Built-In Joinery Specification
The joinery in an entry or mudroom is designed at the same time as kitchen and bathroom joinery — all three are typically priced and fabricated by the same joinery contractor. Including mudroom joinery in the initial joinery scope keeps cost per unit down and ensures the fit and finish is consistent with the rest of the home.
Mudroom joinery specification considerations:
- Substrate: Use moisture-resistant (MR) substrate board for all mudroom joinery — standard particleboard swells and deaminates in persistently damp conditions. Specify MR-grade HMR (high moisture resistant) particleboard or plywood for the carcass of any joinery within 1.5 m of an external door or in a space with limited ventilation.
- Door hardware: Soft-close hinges and drawer slides are standard in quality new home joinery; specify them for mudroom cabinetry too. A mudroom is opened and closed repeatedly at speed — soft-close prevents slamming that would loosen hinges over time. Push-to-open (handleless) or flush-pull handles are more practical than protruding D-handles for a space where coats are likely to catch on protrusions.
- Overhead storage: Overhead lockers above the hook rail — at approximately 1.8–2.0 m from floor to base of locker — provide storage for seasonal gear (ski helmets, life jackets, camping items) that doesn't need daily access. The space above the hook rail is otherwise dead; a locker run with simple doors keeps it functional without requiring additional floor space.
Frequently Asked Questions
What is the minimum width for an entry hall in a new home?
The NCC specifies a minimum corridor width of 1.0 m (clear of any projections or door handles) for residential buildings. However, 1.0 m is uncomfortably narrow for normal daily use — a person carrying grocery bags or a large parcel cannot pass another person in a 1.0 m corridor. A practical minimum entry hall width for a family home is 1.2 m; 1.5 m is comfortable. Where the entry hall also serves as the primary access to the bedrooms or the laundry, 1.5 m or wider is strongly recommended.
Do I need a mudroom if I have a garage?
A garage entry does not replace a mudroom — it precedes it. If the internal access from your garage opens directly into the kitchen or living area, there is no transition zone to contain mud, wet gear, or smells before they enter the main living space. A mudroom between the garage and the kitchen — even a compact 2.0 m × 1.5 m space with hooks and a boot bench — provides the buffer that makes the difference between a home that functions and one that doesn't in day-to-day use. Tasmania's climate makes this particularly relevant; wet jackets and muddy boots are a daily reality for much of the year.
Can I add a mudroom to an existing home?
Yes — a mudroom can be added as an extension to an existing home, typically as an enclosed porch at the back door or as a conversion of an existing space. Adding a mudroom to an existing home as an extension requires a building permit and will be assessed against the local planning scheme for setbacks, site coverage, and character. The cost of adding a mudroom as a standalone extension is higher per square metre than including it in a new build from the start, because existing infrastructure (footings, framing, roof, services) needs to be integrated with the new structure.
How do I keep a mudroom from smelling in a new home?
Ventilation is the primary control for odours in a mudroom — wet gear and boots need air movement to dry quickly. Include an exhaust fan or a window that opens in the mudroom if the room does not have natural cross-ventilation. An HRV (heat recovery ventilation) system serving the whole home will pick up a mudroom that has a supply or extract grille; specify this at the HVAC design stage. Avoid enclosed low-level cupboards for damp footwear — open cubbies allow air to circulate around boots and reduce drying time significantly.
Planning Your Entry and Mudroom?
Entry and mudroom design decisions — floor material, joinery scope, lighting rough-in, door position — all need to be confirmed before framing begins. They are low-cost at the design stage and expensive to change once walls and floors are in. Davies has been building custom homes across Northern Tasmania since 2009, and our team works through these decisions with every client in the pre-construction phase.
Start a conversation with our team, or visit our pricing guide to understand how specification decisions at the design stage affect your overall build budget.
About the Author
Luke Davies
Luke is the founder of Davies Design & Construction and author of Dream Home. He writes about home design philosophy, lean construction, and building businesses that put people first.
0 Comments
Related Articles